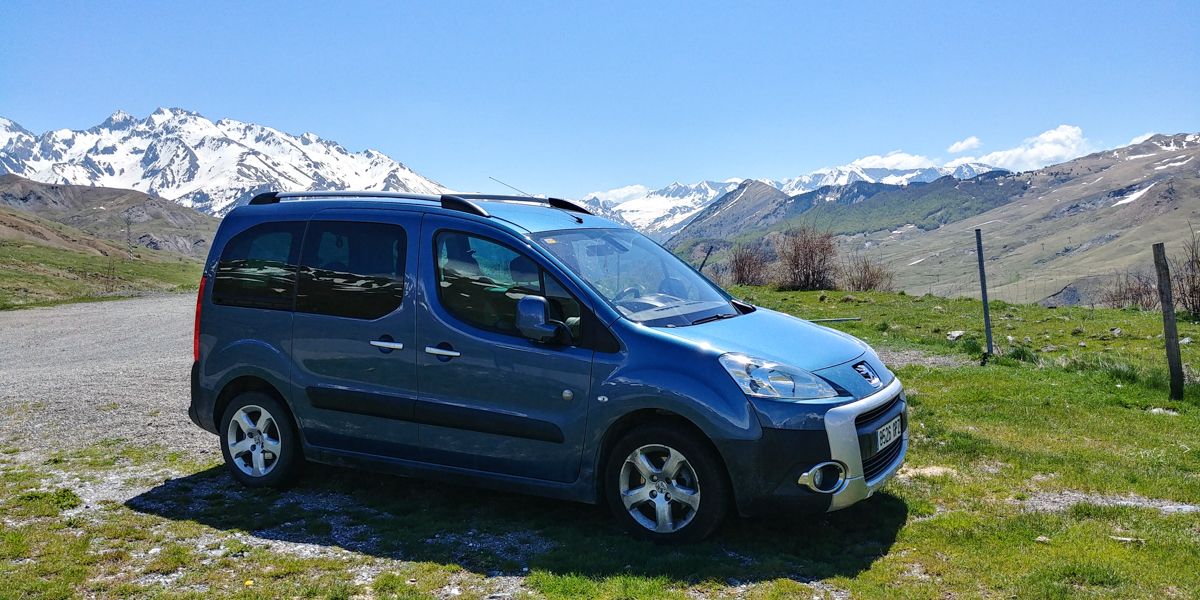
Spring time has arrived. The mountains await and what better way to enjoy them than being able to sleep in your van. The freedom and possibilities it offers are endless. Plus vanlife is awesome! With this article we offer you a complete DIY car conversion plan. A cheap and simple way to turn your car into a campervan!
Our design
There are many options you can choose from. Which one you will decide on depends on your needs. We recommend you start with a list of your “must-have” requirements. Based on these requirements you design the general layout. Our design was relatively simple but very comfortable and practical. We’ve even seen DIY campervans with a solar shower!

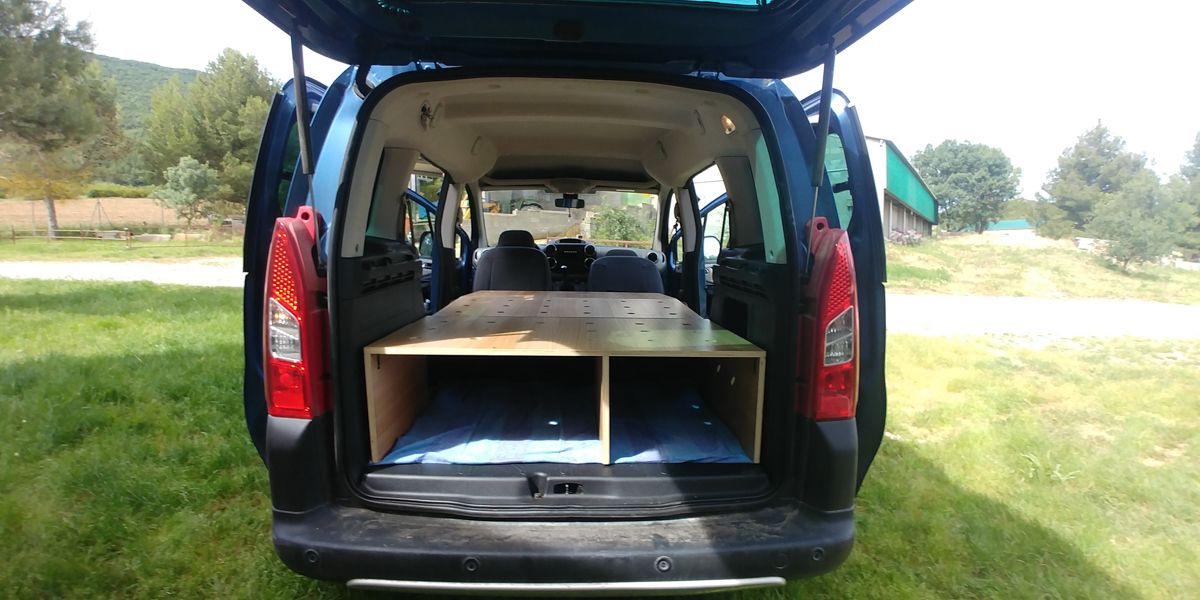
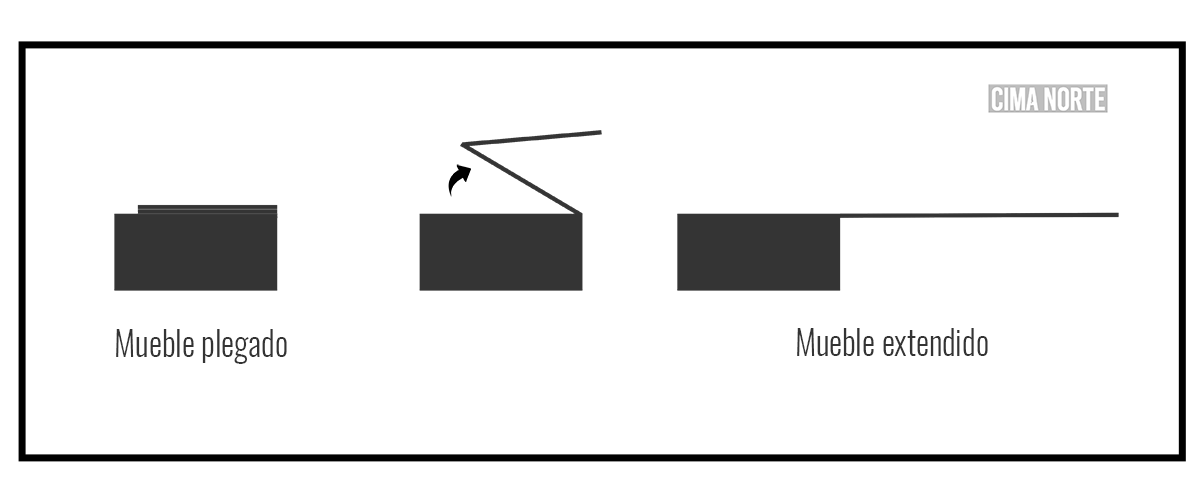
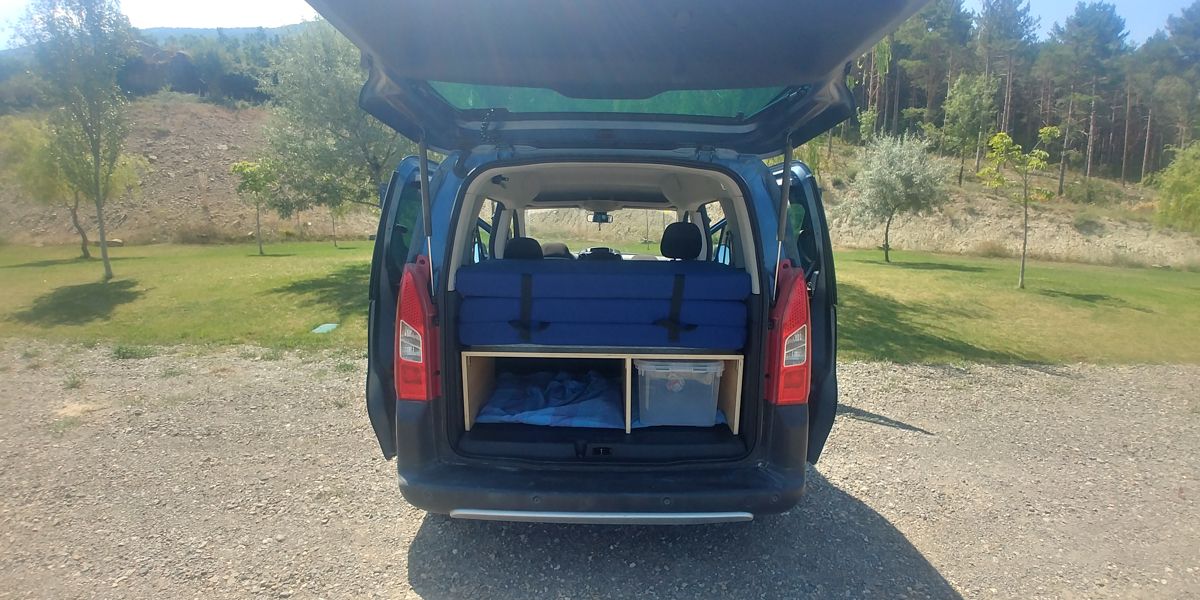
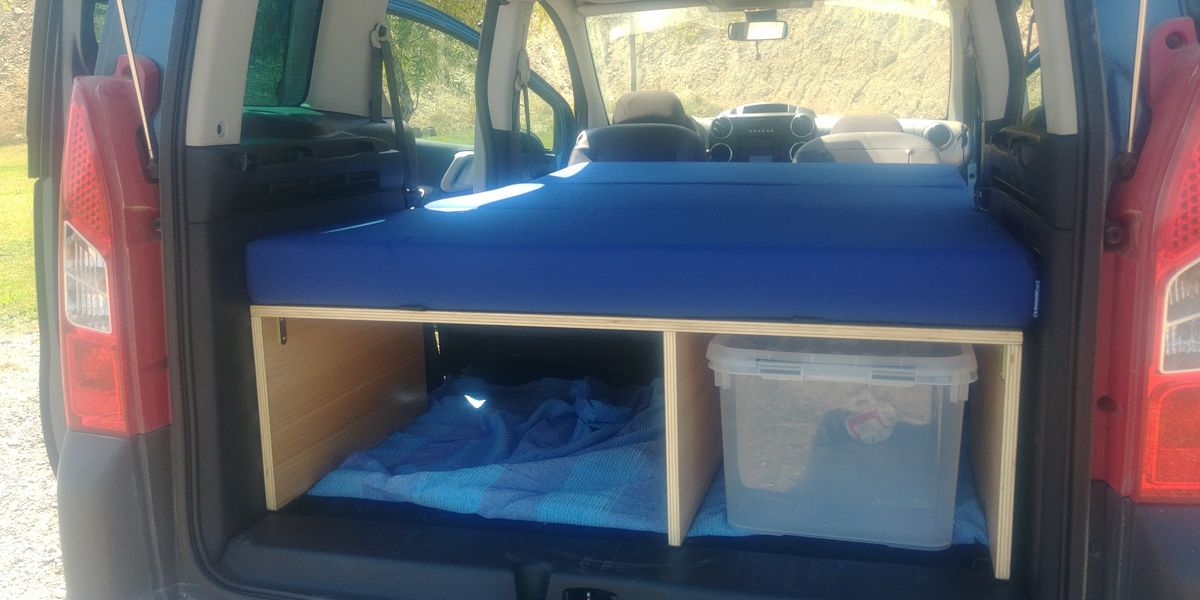
We decided to build a foldable sleeping platform out of three parts and three legs. Fully extended, the bed rests on the folded back seats. This way, when we are on a trip, we can have passengers sitting in the back, while the bed is folded away neatly in the back. And when it’s time for bed we simply pull it out. It doesn’t take more than 10 minutes.
The platform
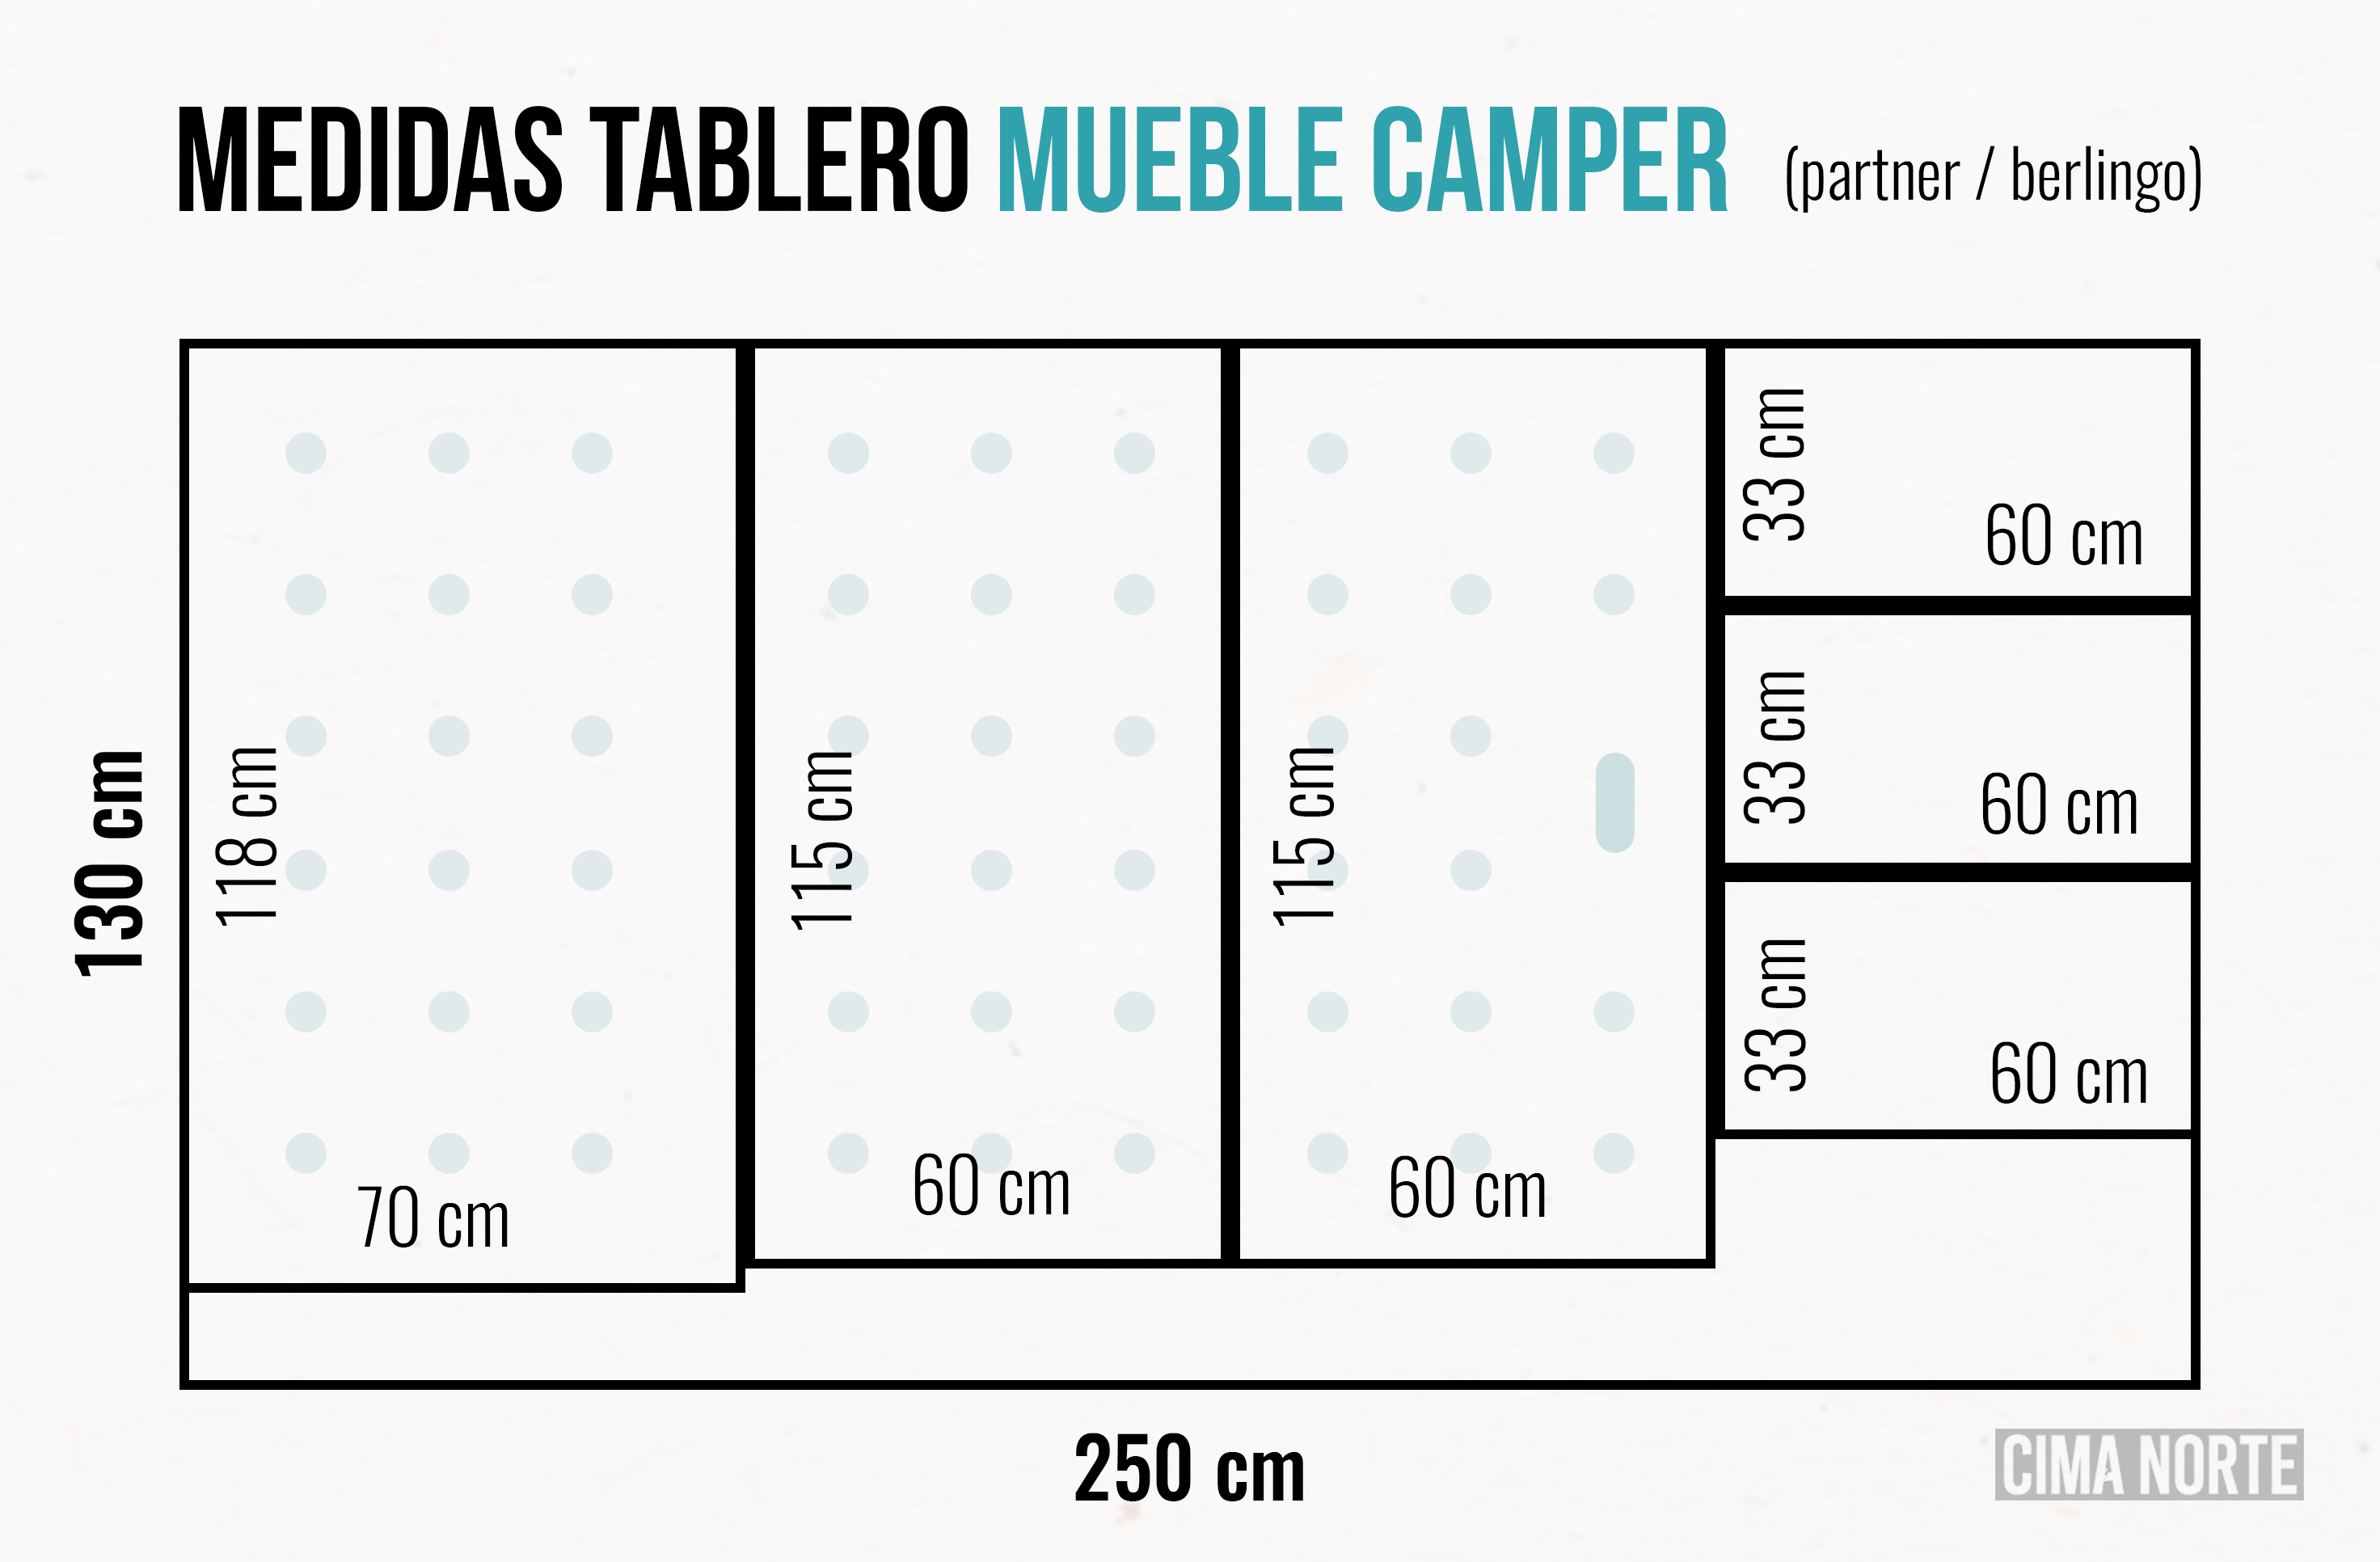
First of all we have to measure the van well and, depending on the measurements, buy the wood. They generally have a size of 250 × 130 cm. With these measures, one board will be enough for our design.
We recommend poplar plywood. It is a very resistant and lightweight wood, which makes it ideal for our needs. The thickness should be around 1.5 or 2 cm. We opted for 1.8 cm.
In addition, we can make a series of holes in the platform to remove weight and add ventilation. I prefer holes that are 3.5cm in diameter and we drill 18 holes per board, well distributed. (If you want you can do some more). In addition, in the top board we make a handle to make it easier to unfold the bed.
In our van (Partner or Berlingo model) the height of the legs is 33cm (the same as the folded
seats). The width of the bed is 118cm and the length 190cm (two boards of 60cm and one of
70cm).
This is how we decided to cut the board to get the most out of it and meet our measurements. From a single board, we get the three boards that will form the bed and the three legs.
Building process
1. First we have to cut the wood. Most stores are happy to cut it for you. Just make sure you ask them nicely.
2. Once we have all the boards, it is time to drill the holes. To do this, we use a 3.5 cm diameter spade bit. We made 18 holes in each board. (Not on the legs). The holes, in addition to removing weight, will add ventilation for the mattress.
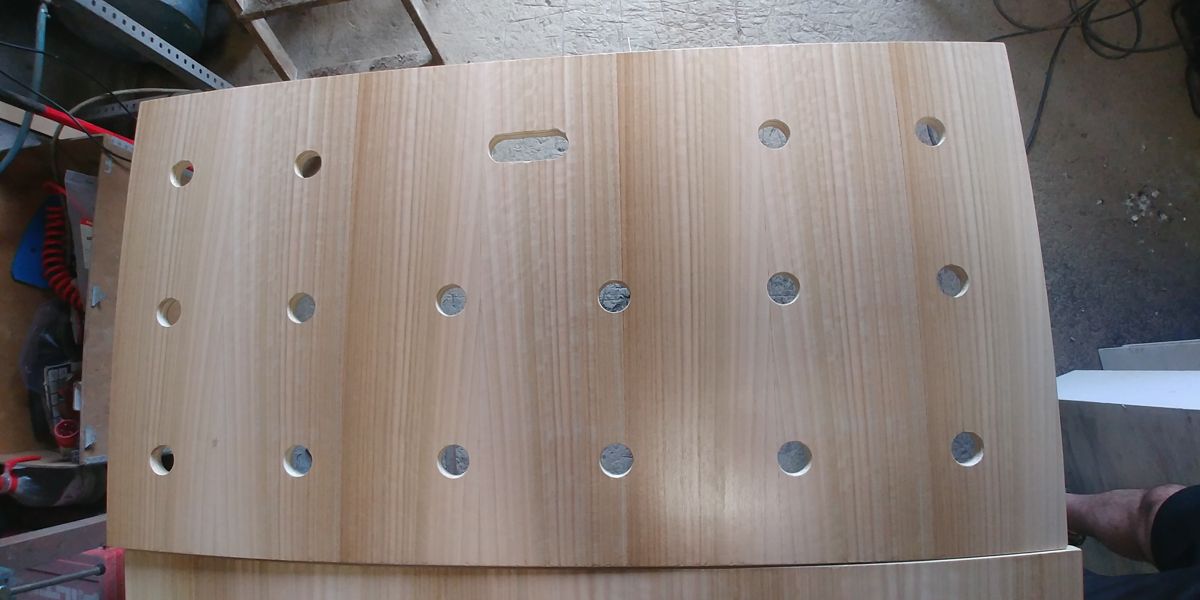
3. Now it’s time to add the finishing touches. Sanding and varnishing. In order to avoid deterioration of the wood, we opted to follow the process: sanding – filler layer – sanding – varnish layer – sanding – varnish layer. In this way, the wood will be very smooth and well protected for our trips.
4. Now, it is time to assemble it. We put the three legs on the base board. The center leg is moved a little to one side to give us more possibilities to store luggage. We fix the legs with glue and lag screws.
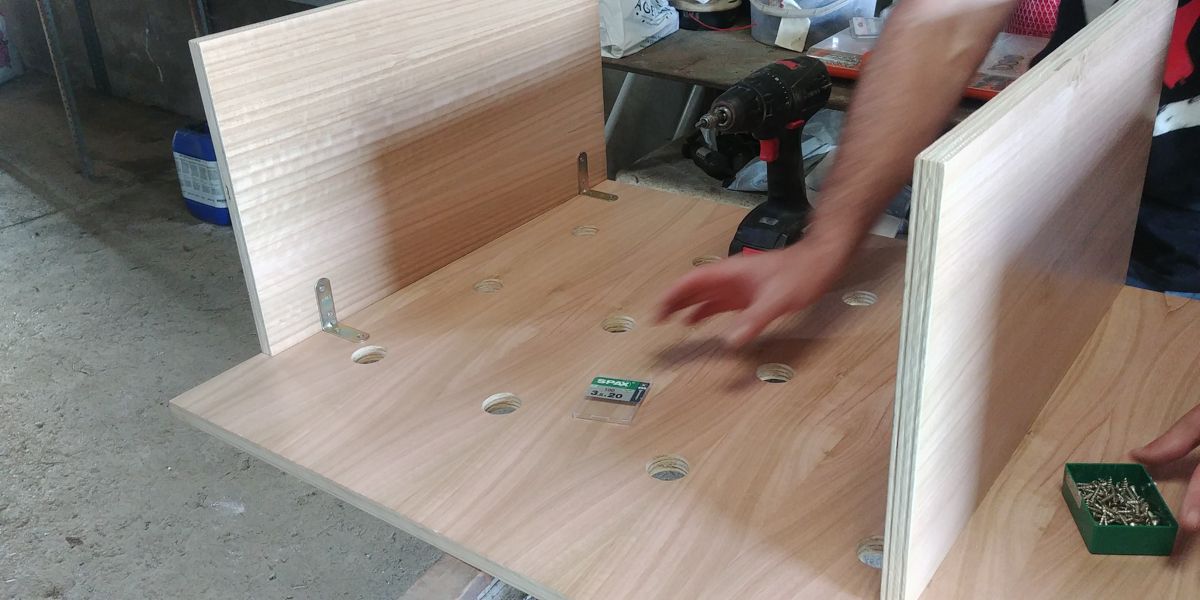
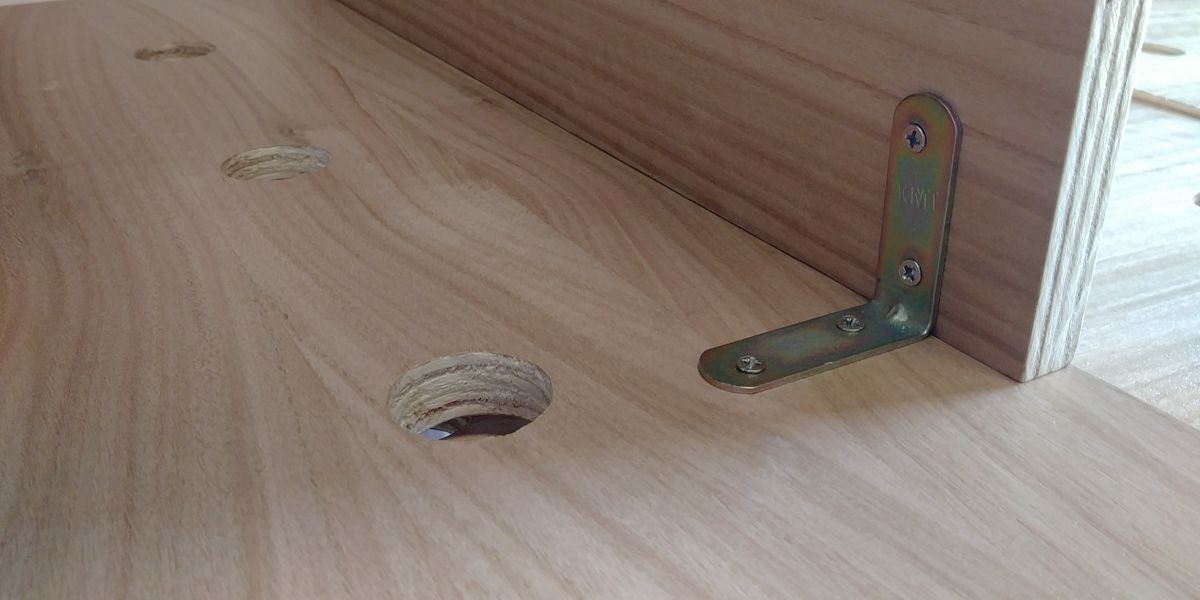
5. We reinforce the legs with brackets, which will increase stability.
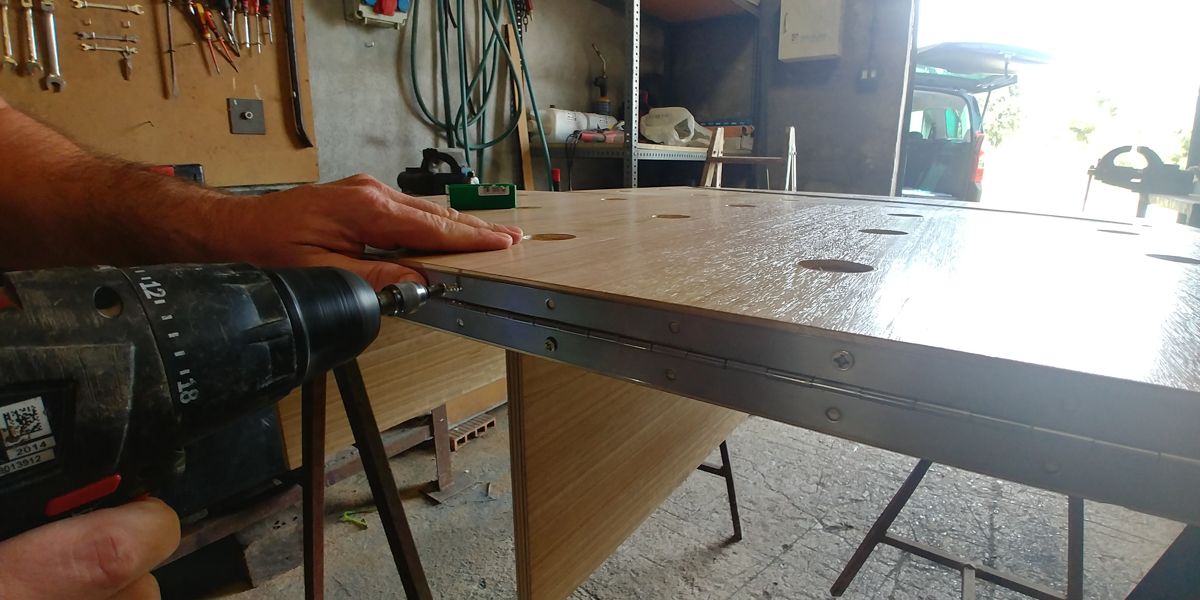
6. We join the two boards that we have left with piano hinges, in such a way that the base is completely flat when it’s fully extended.
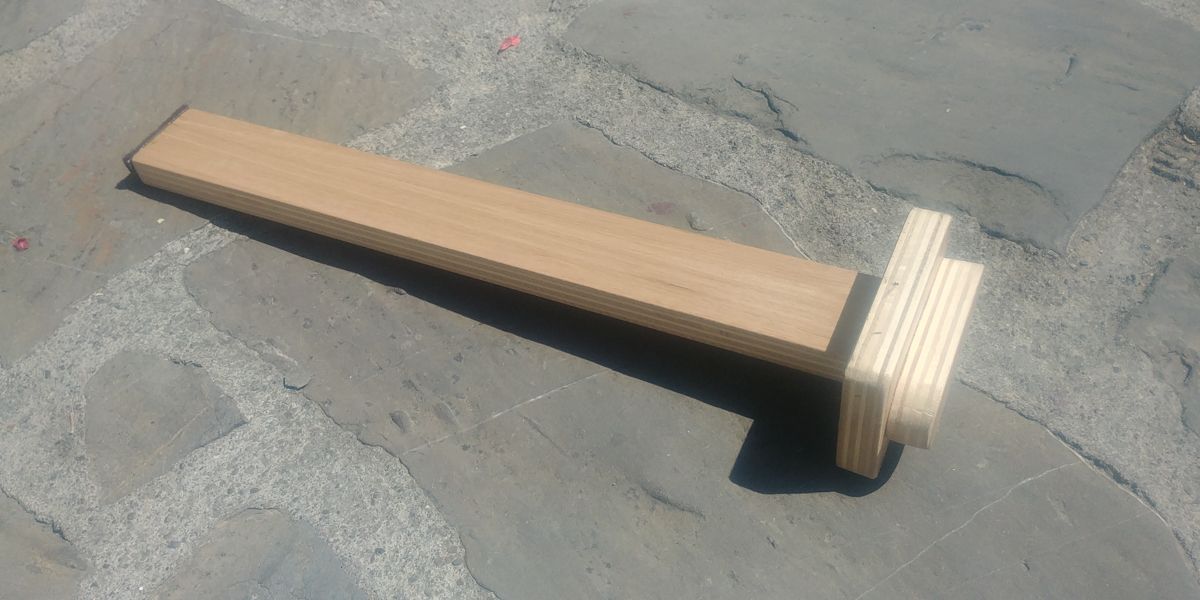
7. Finally, with the excess wood, we can make a leg to support the front of the board. Our leg fits in the handle.
Material needed
The mattress
The mattress, like everything, must adapt to the van, the bed and the needs of those who sleep on it. For our design, we chose a mattress that folds into three pieces and its total measurements are 120 × 190 cm.
The recommended thickness is 10cm. In our case we opted for 7cm of foam and 3cm of memory foam.
You can read more about campervan and similar entries here.
Dejar un comentario